DIY Concrete Mixing
Skate
Step one: Supplies
-Work gloves (concrete will suck the life out of your hands if they aren’t covered)
-2 shovels
-wheelbarrow
-2-3 trowels (one small one for fine shaping)
-multiple five gallon buckets (for transportation)
-cement
-concrete sand
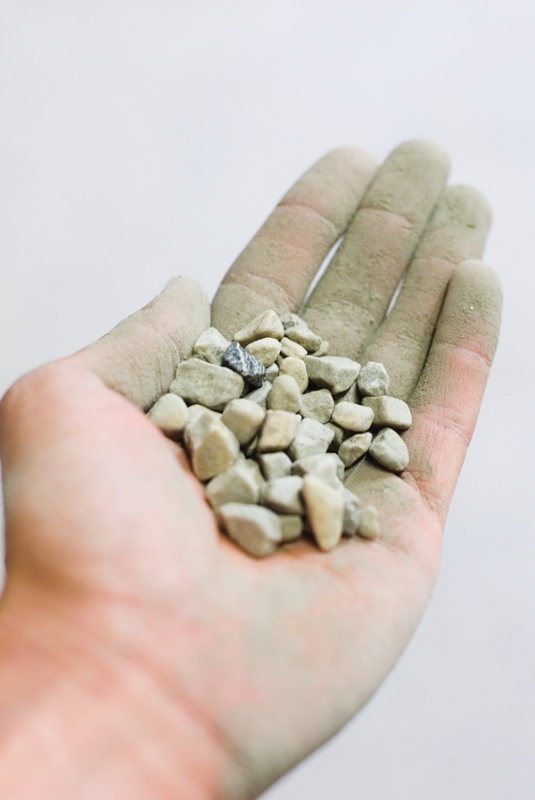
-aggregate (rocks about the size of a peanut used to strengthen the mix)
-water
-beer (mixing concrete isn’t as easy as whisking eggs for breakfast—you’ll need to keep hydrated and energized.)
Step two: Mixing the concrete
First off, concrete and cement are not one in the same. Concrete is a mixture of sand, gravel, water and cement. Cement is that heavy ass 80 lb bag of powder mixed in with the rest of the ingredients to make concrete. Mixing is more or less the most important part. If you fuck up the mix, then you’re going to end up with a big pile of concrete shit that’s ten times harder to fix than it was to make. It takes just as long to do something wrong as it does to do it right.
A standard concrete mix is two parts cement, two parts sand, three parts aggregate with one part water. Use water that is clean and free from acid, alkaline, sulfate and oil. Start by mixing the cement, sand and aggregate together with shovels in a dry wheelbarrow then pour in the water a little at a time mixing while you pour. Don’t just dump it all in one big splash. Getting your consistency right is what will make or break the mix. Too wet and the mix will be weak and chip, too dry and the particles in the mix won’t stick together. A good test for consistency is to create a smooth surface and cut in a groove. If the surface stays smooth and the sides of the groove hold their shape, your concrete is ready (for extra strength add an acrylic mortar).
The amount of mix you’ll need depends on the size of spot you’re trying to build. Here is a little guide to help you figure it out. One 80 lb bag of concrete mix will roughly give you a two sq. ft slab 4” thick.
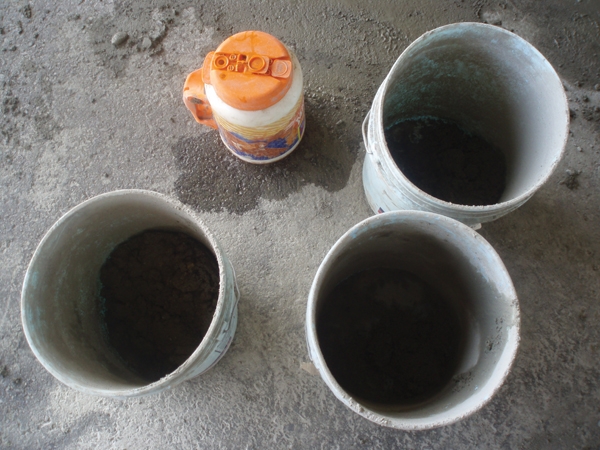
Step three: Transporting
Concrete is heavy, kids. Remember: lift with your legs, not with your back. When creating your own street spot being swift and incognito is key. You’ll want to mix off site and pack it in. Five gallon buckets are one of the best ways to move your crete, anything much bigger and you’ll have a hell of a time picking it up. If you don’t have any five gallon buckets, use your mom’s Tupperware and cooking pots. She’ll be stoked.
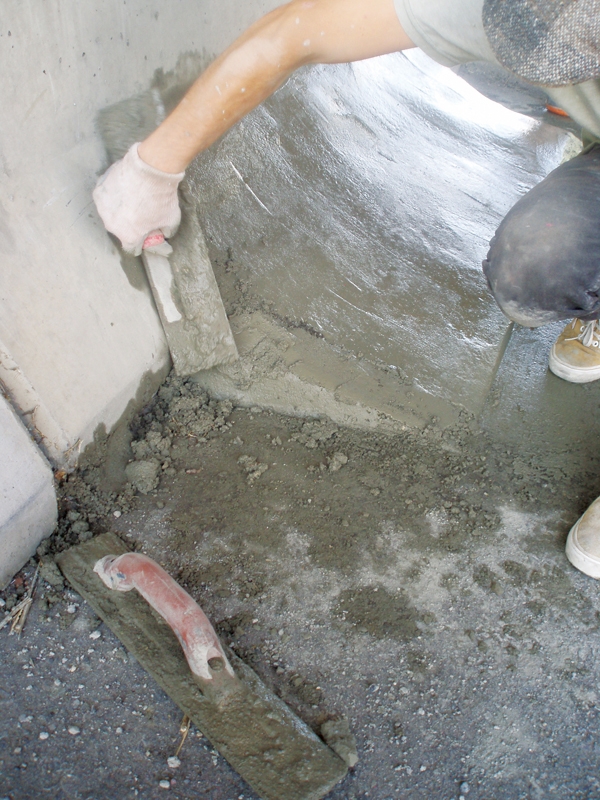
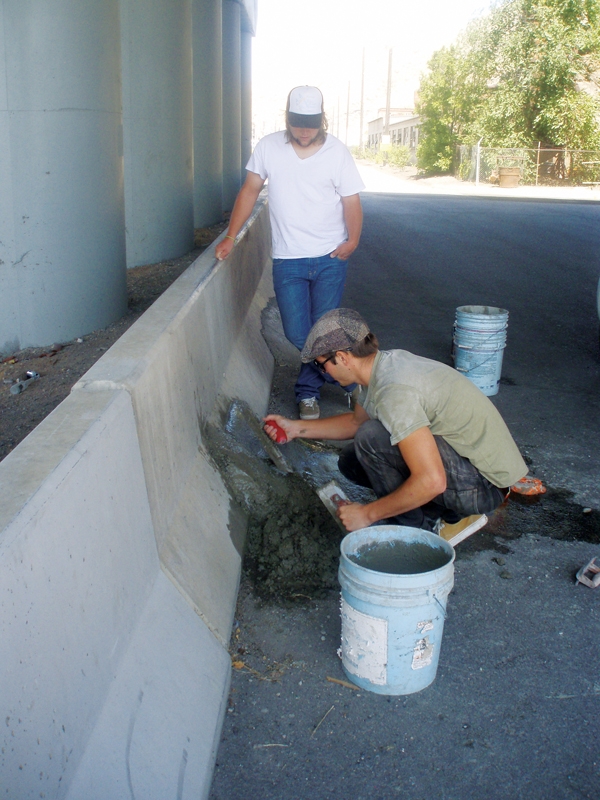
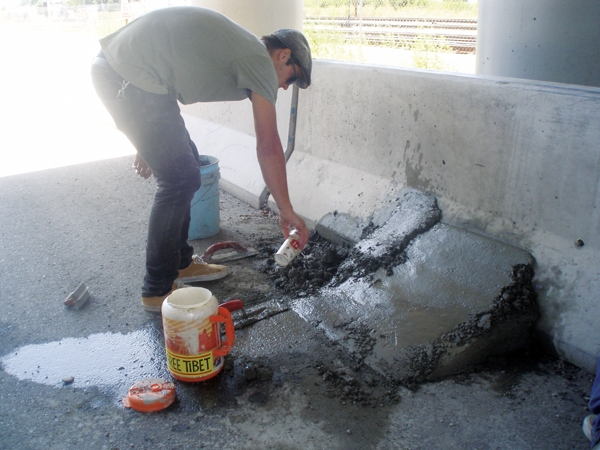
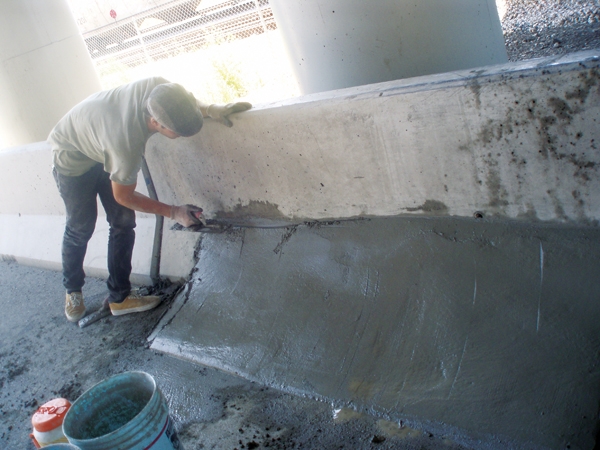
Step four: Pouring and shaping
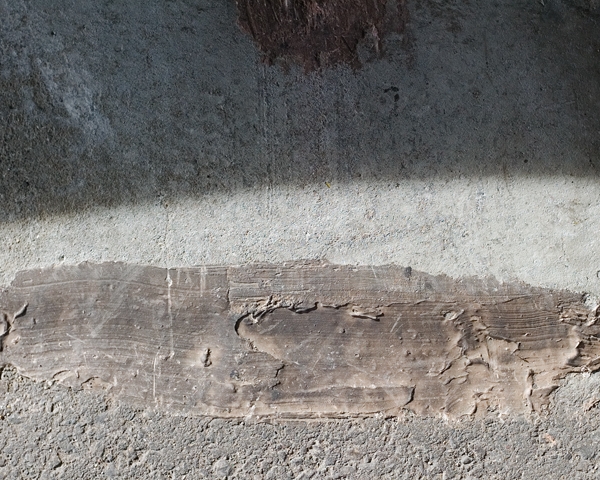
Shaping out your transition is where all the fun begins. Work in layers. Don’t dump the whole lot of mix you’ve just made in one big pile and expect it to mold into the shape you want. Start by pouring a base 2-4” thick and work from there. While you’re working keep in mind that the bigger you make it the stronger it will be—concrete doesn’t adhere to concrete and you’ll want to put about an inch of thickness at the thinnest part to keep the concrete from crumbling. The more you work the concrete with a trowel the more water will be brought to the surface. This helps manipulate the shape but play with it too much and you’ll be left with a sloppy mess that will sink while it dries. Depending on the weather give the concrete around 30 hrs to three days to settle. Once the crete has settled, you can Bondo the top and bottom for a smooth transition. If you’re going for a really big quarter-pipe transition or ledge, build a wood frame first and fill it with large rocks and dirt to take up space.
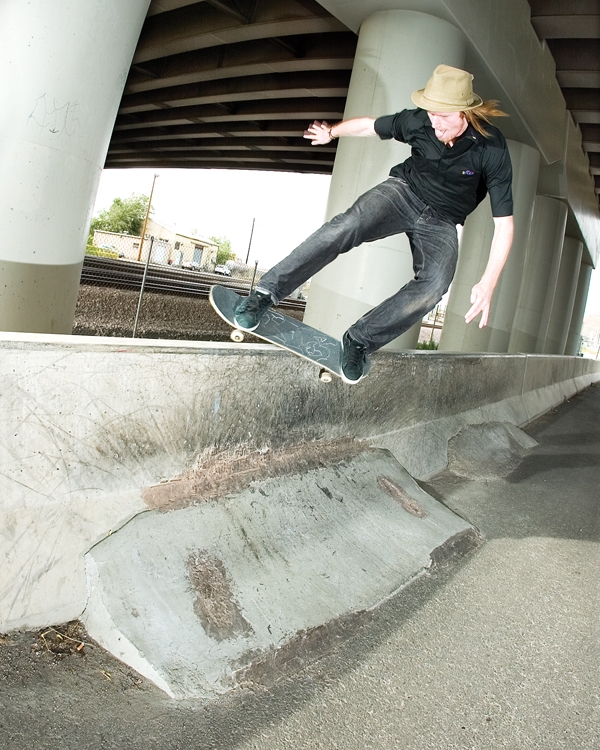
Step five: Skate it.
Congratulations! All your hard work has paid off. You have just finished building your very own street spot. Now, put it to good use and shred the fuck out of it. Then seek out and build another spot and another and another until the entire city has been modified for skate destruction. We are the rat children of the streets that don’t give a fuck. Moving with swiftness under the cover of darkness, nothing can stop us. Not the boys in blue or random heroes boasting citizens arrest. This is our home and we run this city.